
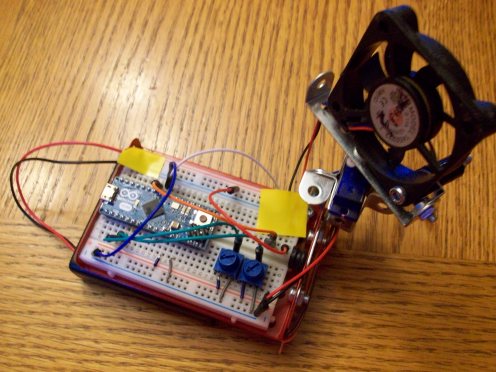
 I’ve finished up my oscillating fan! My final design changed significantly though due to some technical difficulties. In the end I opted to use the Arduino Micro because it was the right size for this smaller project. Unable to obtain a 9v battery, I used 4 AA batteries, which barely power the Arduino and the fan. I was originally was going to use a temperature sensor with temperature indicator LEDs, but my temperature sensor was behave erratically. Sadly, I may have fried it at some point. Instead, I used two potentiometers, one controlling the fan speed, and one controlling the oscillation speed, and they work quite nicely. Using Erector set pieces, I made a tray for the breadboad it taped to the battery pack. I used more pieces to mount the fan and support the breadboard, and the final project is nice and compact.

To view code, click here. If you build a project like this, with external power, you have to be careful of which rail has which power connection. In this project, I had one rail on 6v (the battery) and one on 5v (the Arduino’s logic voltage). If you draw from the 6v to power the potentiometers or other sensors, you could damage your Arduino. It’s also important to remember to connect the Arduino’s and the batteries’ ground together.
Below is the fan mounted to the servo using Erector set pieces.


this is cool I so want to build something arduino in the future so thanks for inspiring me 🙂
LikeLike
I’m glad I was able to inspire you! 🙂
LikeLike